Set up your demand as Ad Tags and target specific streams.
Creating Ad Tags
- Navigate to Transmit Creative Studio
- Click 'Create Ad Tag'
- Choose Ad Format

- Name your Ad Tag
- Choose Ad Hosting
- External ADS:
- Drop VAST tag into 'External ADS URL' window
- Transmit Creative Studio:
- Choose Transmit-hosted video file from search bar
- External ADS:
- Select background image (if necessary)
- PIP background skins
- Transmit-hosted LBars
- Advanced Settings (if required)
- Choose event from dropdown
- Implement tracker URL in 'URL' window
- Click 'Create Ad Tag'
Targeting Ad Tags
- Navigate to Transmit Stream Composer
- Click 'Configurations' tab
- Click on the configuration that requires ad targeting
- Scroll to 'Ad Decisioning' section, click 'Add'
- 'Use Existing Ad Tag' is default setting
- Choose ad tag from dropdown
- Click 'Select Ad Tag'
Tiering
Maintaining an ad tag waterfall is simple with Transmit's tiering system.
- Add an Ad Tag to a configuration
- For the ad format you want to add a tier to, click the three dots next to 'Tier 1'

- Choose your desired action from the dropdown:
- Remove Tier
- Add Ad Tag to Tier
- (Split opportunities between ad tags on one tier)
- Change Weights
- (Adjust weighting of ad tags sharing a tier)
- Move Tier Up
- (Move entire tier up in priority)
- Move Tier Down
- (Move entire tier down in priority)
ADS Overrides
A configuration's main ad decisioning settings will default to every stream originating from it, unless an ADS override is set. This allows you to customize each individual streams' ad configuration separately.
- Find the configuration you want to add an override to
- Scroll to 'Ad Decisioning Overrides' section
- Click 'Add'
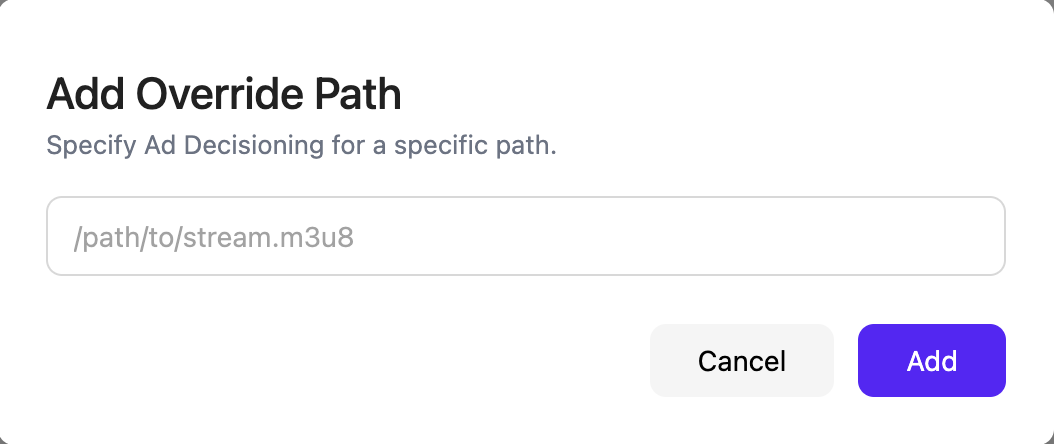
- Paste the path to the stream in the 'Add Override Path' window
- This should be the unique path to the playlist

- This should be the unique path to the playlist
- Click 'Add'
- Manage ad targeting